
II. Background: Physics
- Resolution increases with frequency
- Penetration decreases with increased frequency
- Low frequency (1 MHz to 6 MHz): Deep Structures
- Transabdominal: 3.5 Mhz to 5.0 Mhz
- Transvaginal: 5.0 Mhz to 7.5 Mhz
- High Frequency (7 MHz to 13 MHz): Superficial Structures
- Low frequency (1 MHz to 6 MHz): Deep Structures
- Piezoelectric crystal
- Apply a mechanical force sends out electric signal
- Apply an electric current, sends out sound
- Probe Arrays
- Curvilinear Array
- Allows for smaller footprint to penetrate between ribs and other obstructions
- Curved surface sends signals in a fan shape covering a wider area than the footprint
- Ideal penetration for hepatobiliary and aorta evaluation (as well as Obstetric Ultrasound after 7 weeks)
- Linear Array
- Higher frequency, superficial probes
- Vascular Access probes use a short, narrow linear array probe
- DVT evaluation probes use a longer (typically 4 cm), linear array probe
- Vector Array (or Phased Array)
- Low frequency, but high refresh rate
- Typically used in Cardiac Ultrasound (as well as E-FAST Exam) for excellent resolution and fast real-time updating
- Allows for deep penetration (up to 40 cm with some phased array probes)
- Among the most useful probes in the Emergency Department arsenal
- Curvilinear Array
- Modes
- A-Mode (Amplitude Mode)
- Original Ultrasound delivered only a wave form
- B-Mode (Brightness Mode)
- Typical 2-Dimensional Ultrasound image
- M-Mode (Time series of superimposed B-mode images)
- Typically used for heart imaging to demonstrate Cardiac Cycle activity and associated abnormalities
- A-Mode (Amplitude Mode)
- Send/Receive Timing
- Continuous mode (e.g. Doptone)
- Probe has two crystals functioning simultaneously
- On crystal sends out signals, while the other crystal concurrently receives signals
- Pulsed echo mode (standard Ultrasound mode)
- One set of crystals that sends signals 1% of the time and receives signals 99% of the time
- Continuous mode (e.g. Doptone)
- Orientation: See precautions below (related to cardiac echo)
- Screen: Marker typically appears on the left side of screen
- Ultrasound probe marker
- Transverse view: Marker should point to 9:00
- Longitudinal view: Marker should point to 12:00
- Screen or Pixel brightness
- Fluid appears black
- Air appears white
- Due to reflection of sound waves (poor penetration)
- Bone appears bright white
- Due to near complete reflection of sound waves (very poor penetration)
- Resolution
- Axial Resolution
- Resolves objects which lie one in front of the other (one object closer to the Ultrasound probe than the other)
- With insufficient axial resolution
- Two objects (e.g. vessels, cysts), one in front of the other, will appear as a single object
- Linear Resolution
- Resolves objects which lie one beside the other (each at a similar distance to the Ultrasound probe)
- Axial Resolution
III. Approach: Bedside Ultrasound
- Perform Ultrasound with a specific purpose
- Dyspnea evaluation for CHF (B-lines, IVC, contractility), Pleural Effusion, DVT
- Shock evaluation for Pneumothorax, Pericardial Effusion, Hypovolemia (IVC), intraabdominal free fluid (FAST)
- Optimize Ultrasound settings
- Select appropriate probe (see probe arrays above)
- Set best gain, window/zoom (see Machine Settings below)
- Record abnormalities in 2 planes
- Modifications for children
- Warm the Ultrasound gel if possible (consider storing in a saline or blanket warmer if 110 F or less)
- Adjust the Ultrasound probe with fine movements in position and tilt
IV. Indications: Regions amenable to Ultrasound
- Cardiac Ultrasound
- Chest and Lung
- Vascular Ultrasound
-
Abdomen: Gastrointestinal and Genitourinary
- Liver and gallbladder
- Pancreas
- Kidney and Bladder
- Pediatric Abdomen
- RLQ Abdominal Ultrasound (Ultrasound in Appendicitis)
- Intussusception Ultrasound (Running the transverse and ascending colon with Ultrasound)
- Pyloric Stenosis Ultrasound
- Male Genital
- Female Pelvis
- Musculoskeletal Ultrasound
- Eye
- Neurologic
-
Limited Trauma Ultrasound (FAST Exam or eFAST Exam)
- Subcostal Echocardiogram View (Subxiphoid Echocardiogram View)
- Right Intercostal Oblique Ultrasound View
- Right Coronal Ultrasound View
- Left Intercostal Oblique Ultrasound View
- Left Coronal Ultrasound View
- Suprapubic Ultrasound View (Long Axis or Longitudinal View)
- Lung Ultrasound for Pneumothorax (Sliding Lung Sign, Lung Point)
V. Advantages: Compared with other imaging modalities
- Functional
- Real-time imaging
- Directs image-guided procedures
- Confirms physical exam findings
- Good soft tissue imaging
- Accessible
- Portable
- Inexpensive when compared with other imaging modalities
- Widely available
- Safe
- Noninvasive
- No ionizing radiation
VI. Disadvantages
- Steep learning curve (very operator dependent)
- Shadowing behind regions of poor penetration (bone or gas)
- Poor penetration of bone
- Poorly images gas filled regions
VII. Documentation: Limited Regional Examination
- Headings broken out into discrete regional components
- Medical Necessity
- Interpretation
- Permanent Image Retention
- Final written report
VIII. Documentation: Ultrasound guided procedure
- Document laterality (e.g. right, left), probe direction and structure visualized or abbreviations (e.g. PLAX)
- Real-time visualization of needle entering vessel or cavity
- Stored image should show the vessel targeted (except Suprapubic Catheter)
- Documentation does not need to have an image in the record showing needle in vessel
- Important to document that real-time guidance was used
- Stored image should show the vessel targeted (except Suprapubic Catheter)
IX. Precautions: Probe Direction Indicator
- Issue of confusion on learning Bedside Ultrasound (emergency department and Critical Care)
- All non-cardiac regional Ultrasound conventions and machine presets are with the indicator on screen left
- When in transverse orientation, probe points to 9:00 position on patient
- When operator stands at head of bed to place IJ, the probe indicator points to the patient's left arm
- When operator stands along patient's Abdomen, the probe indicator points to the patient's right arm
- Cardiac echo is, by convention, performed with direction indicator on the screen right
- Ultrasound machines when on cardiac preset will automatically move the screen indicator to screen right
- Direct the indicator when transverse to point to 3:00 or left arm (not 9:00, right arm)
- All non-cardiac regional Ultrasound conventions and machine presets are with the indicator on screen left
- Follow simple rule
- Probe indicator direction should match the screen indicator direction (with screen directly in front of operator)
X. Technique: Machine settings
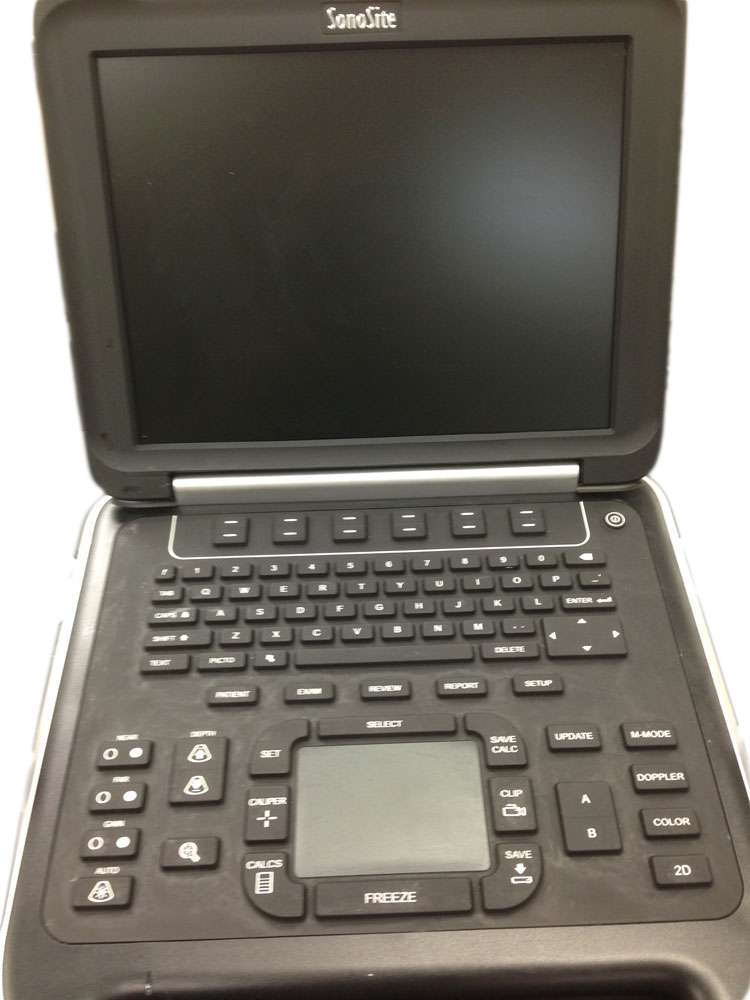
- Example Machine Imagesd
- Sonosite Edge Image
- Sonosite Edge Image
- Focal Zone
- Set a machines default (if possible) to be the center of the screen (and do not change)
- Adjust the image depth to bring objects of interest to match the default focal zone
- Avoid setting multiple focal zones (typically represented as arrows at screen right at various depths)
- Slows processing
- Set a machines default (if possible) to be the center of the screen (and do not change)
- Gain
- Avoid increasing overall gain if possible
- Turning off the Ambient lights in the room is a preferred option
- Increasing overall gain reduces the available 256 gradations of grayscale, and the potential contrast
- Newer machines have fewer gain controls
- Older equilizer type gain controls have given way for machine/software optimized gain based on exam preset
- Typically auto-gain button on newer machines will refresh the image for ideal gain at various depths
- Fine-tune the gain with near gain and far gain settings to adjust for variations in echogenicity
- Avoid increasing overall gain if possible
- Zoom
- Start with broad (non-zoomed) view
- Avoid zooming too early at the risk of missing deeper or peripheral findings
XI. Resources
XII. References
- Lin and Chou in Herbert (2017) EM:Rap 17(5):6-7
- Bhagra (2012) Mayo POIM Conferences, Rochester
- Reardon (2013) Emergency Ultrasound Course, 3rd Rock Ultrasound, Minneapolis, MN